Monday, 26 August 2019

The Battle 5 Armies, 4 Players, 3 Games, 2 Little Girls and FREAKIN' ELF!

This has been sitting on my "to do" list for a while. Not the games, that happened at the start of the month, but I kept forgetting to go through all the photos and sort out a post for the Battle of 5 Armies. Well I finally got around to it, unfortunately a LOT of stuff has been forgotten regarding order of events and missed photo opportunities. My own fault so my usual rambling will be briefer than normal.

A note regarding the models used. My group and I aren't prepared to remortgage a house to afford all the FW model needed to carry out these scenarios, so we took to using proxies (Dwarves, Elves and Orcs are all the same) or dropping models as needed. (Chariots are £!)

Game1
For this game we went BIG. Huge forces, lots of big beasties and named characters running around. The Orcs had to cause as much damage as possible before getting whittled down to 50% whilst the goodies had two objectives to complete; get Thranduil to the gates of Dale, get Thorin to Raven Hill. Easy right? All they have to do is chew threw a horde of Orcs.


Dain and his retinue make their battle lines ready.

Thranduil and his Wood Elf host prepare to advance on the city of Dale

 The Battle lines drawn and a ton of blood thirsty orcs and trolls ready to go. Game 1 was going tobe a brutal afair, but I was hoping for some cool moments of heroism.


Azog directs the battle from Raven Hill


 The front lines close and.......
 SMASH! Carnage erupts as the Trolls begin smashing the Dwarf lines apart.


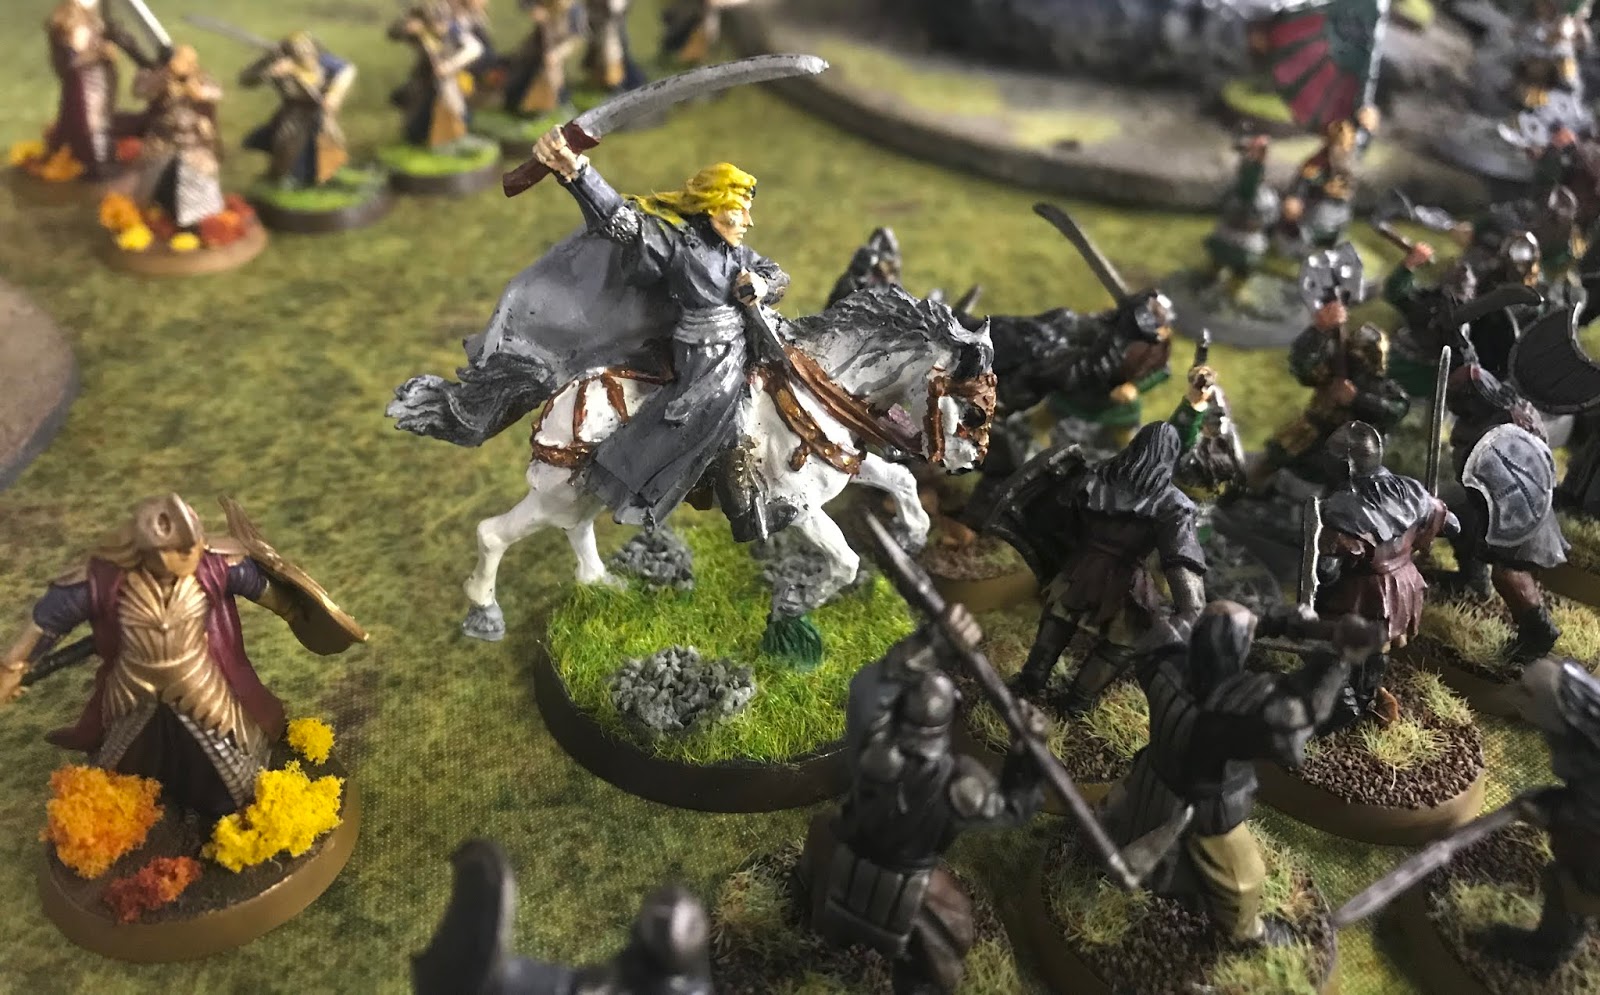
 Thranduil takes the fight to the orcs.


 The dual between Thranduil and the Troll lasted ages.


Thorin's Company enter the fray!


 A truly epic fight, but an unexpected victor. The Troll finally best the Elven King and casts him to the ground before rampaging further into the Elven ranks (what were left of them anyway.)

With Thranduil out of the game and Thorin's company bogged down amongst the orcs. Game1 went to Azog's force. Eat that elf boy!!!!

GAME2
The Battle for Dale saw the Lake Town Survivors lead by Bard, defending themselves from the Orc onslaught. Thranduil and his elves would arrive as reinforcements mid battle behind the Orc lines. Though Elf King was present he would be arriving to the battle severely injured after his bout with the Troll.


The Lake Town survivors make a brave show of force against the charging Orcs.


The Orcs press deeper into the Lake town defenders, Bain is cut down in the scrum...
... as his sisters watch helplessly.


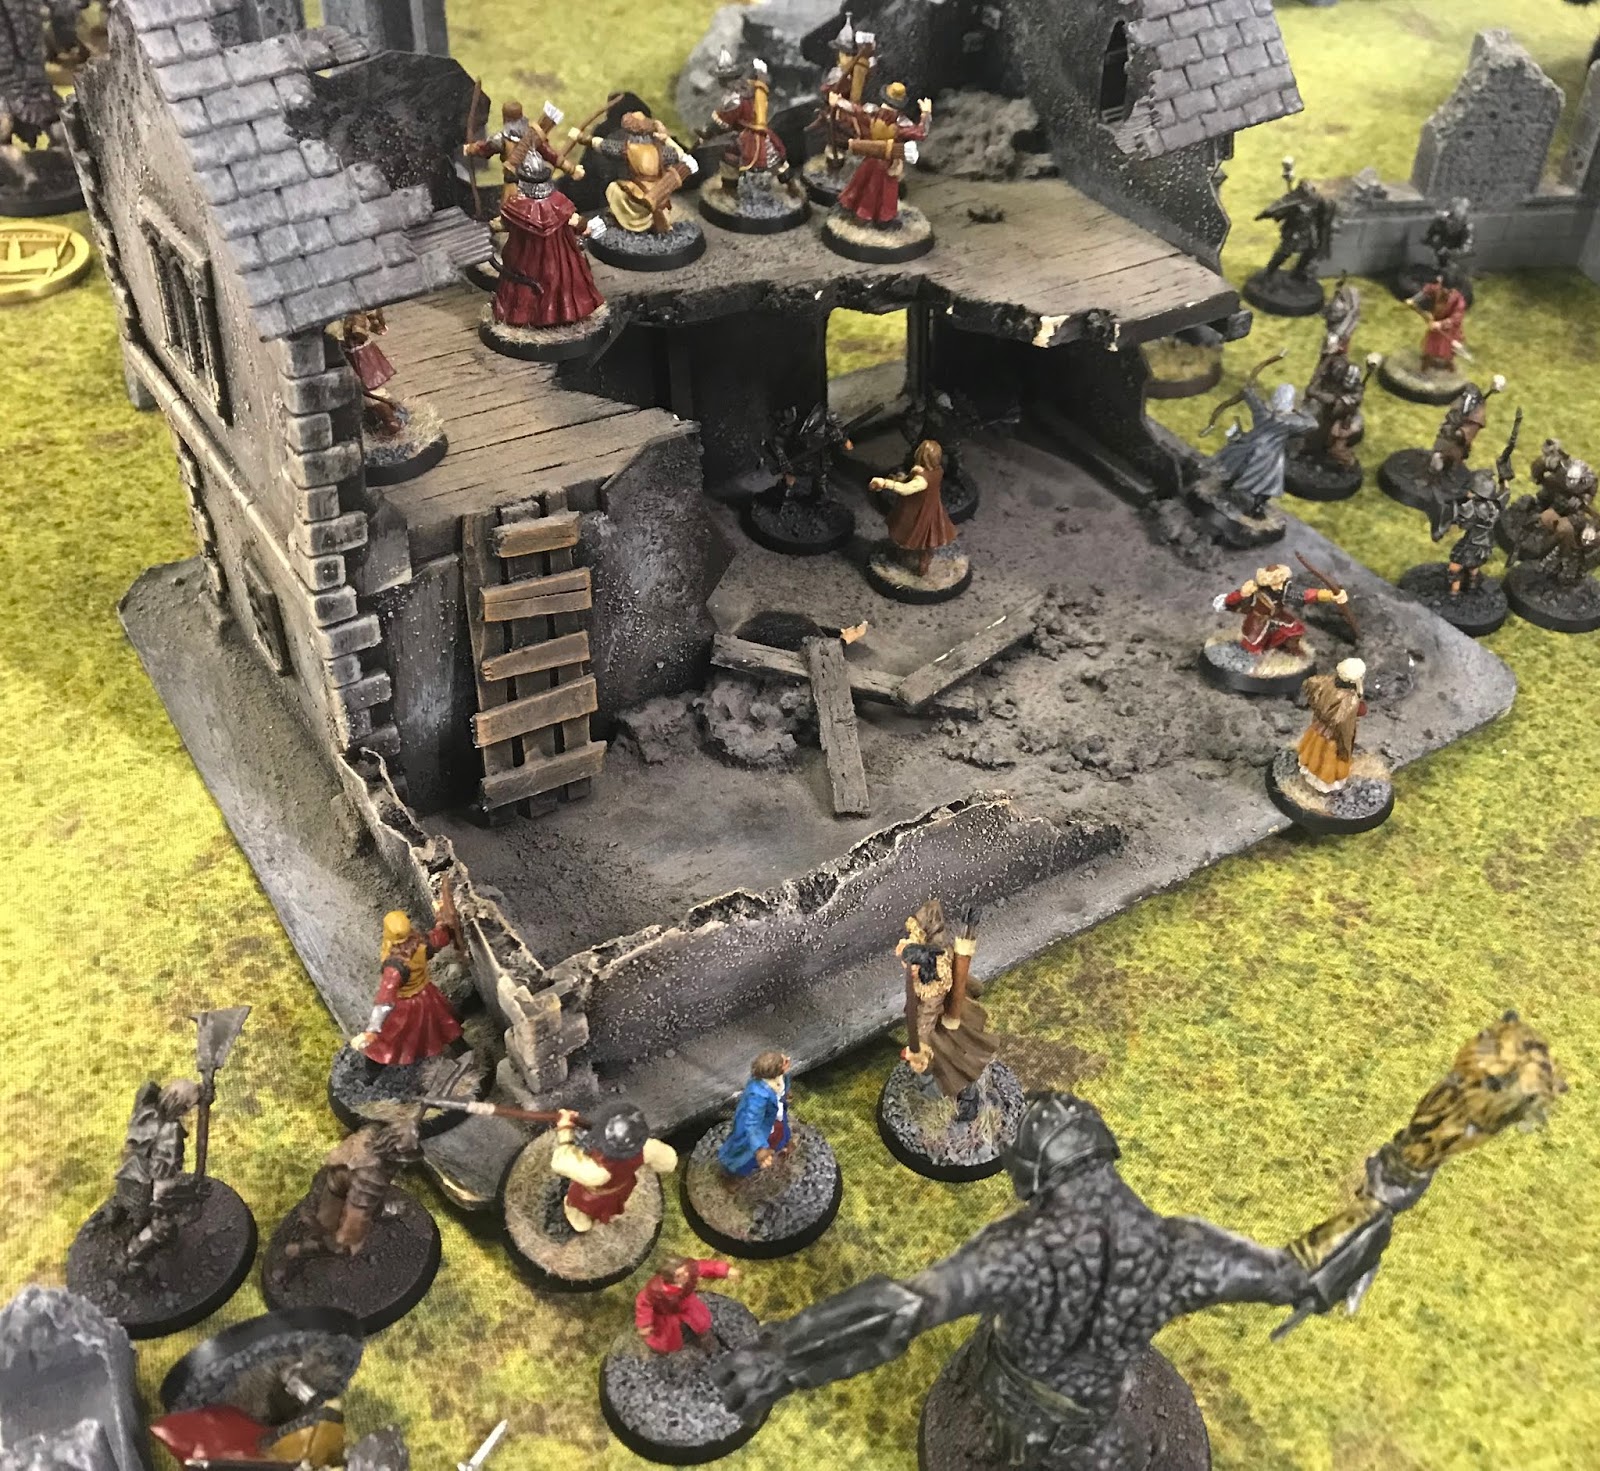
Gandalf was there too, I guess?


In an act of bestial cruelty, the Troll attempts do eat the remaining children of Bard.


The elves finally show up.


Along with Alfred, Bard's daughters make their escape as Bard fights back the rampaging Troll.


 With the Gundabad forces holding the majority of objectives, the City of Dale was taken. Azog's legion had claimed two victories.

GAME3
The final showdown! Thorin and the boys taken on Azog and Bolg. Both forces have extra help coming in, but we were expecting the heroes to do most of the heavy lifting. The Good guys had to kill both Orc Commanders, whilst Azog needed to take out ALL the Dwarves.


The Gundabad army on the march, we thought looked cool but it didn't do much as I recall.
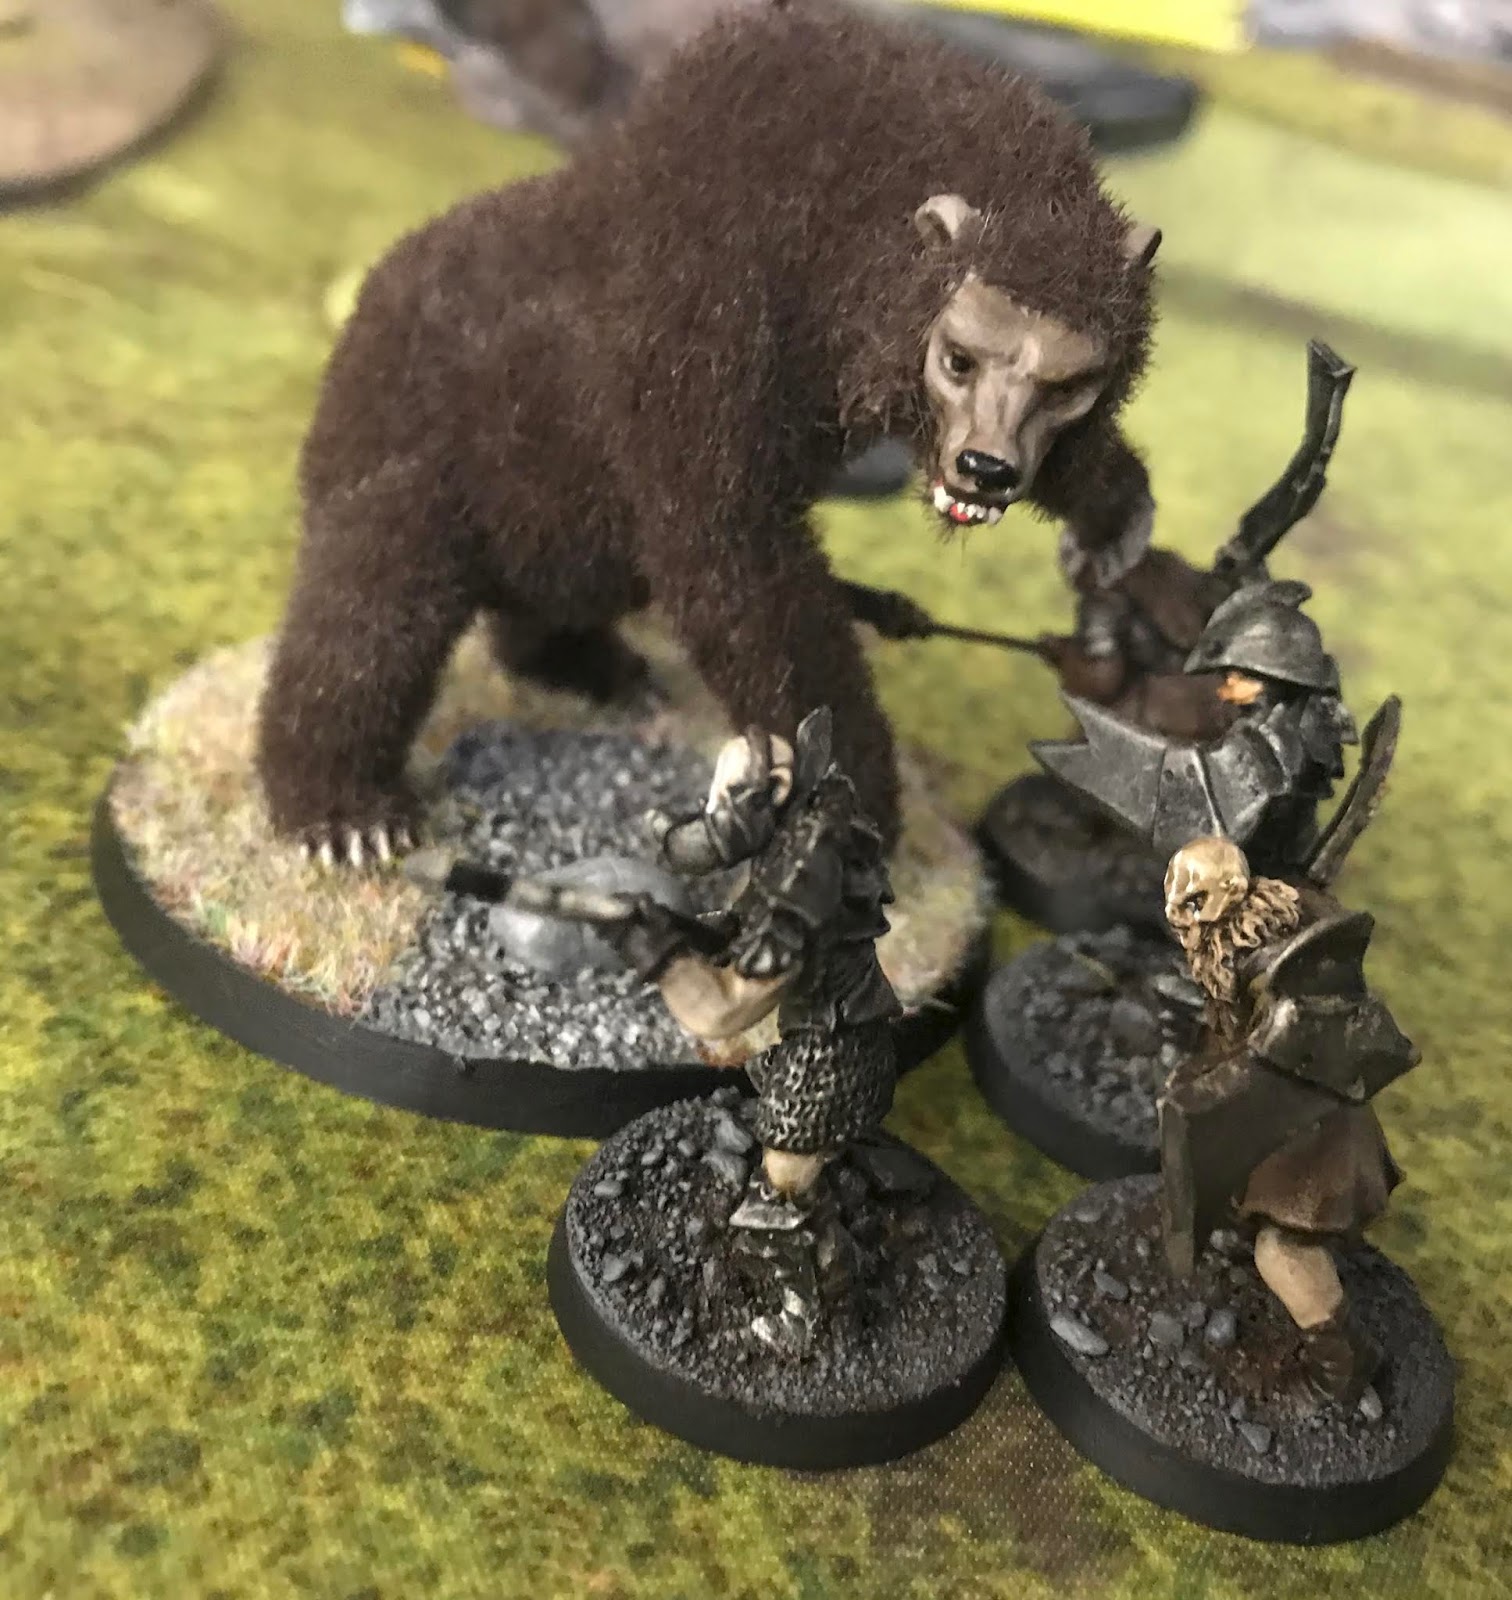
Keron's fuzzy Beorn was worth a mention. Sooooo fluffy!!!
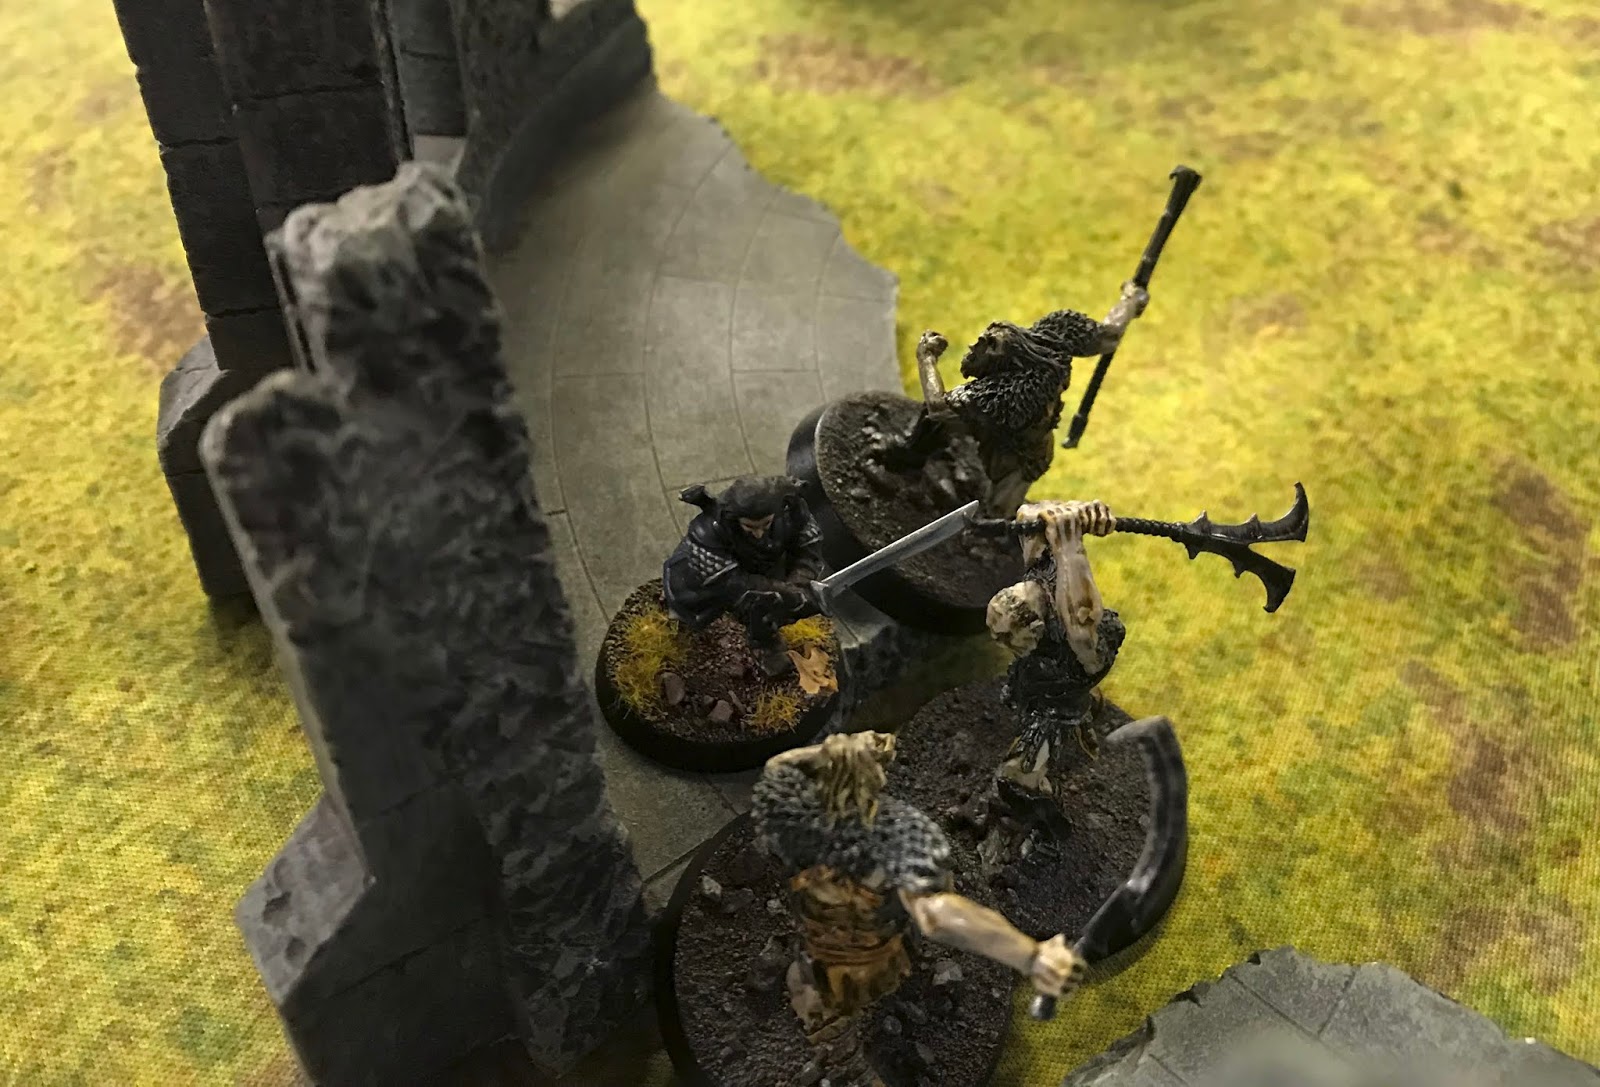
Early turns saw Fili(or Kili, I don't remember which) cornered in the ruins.
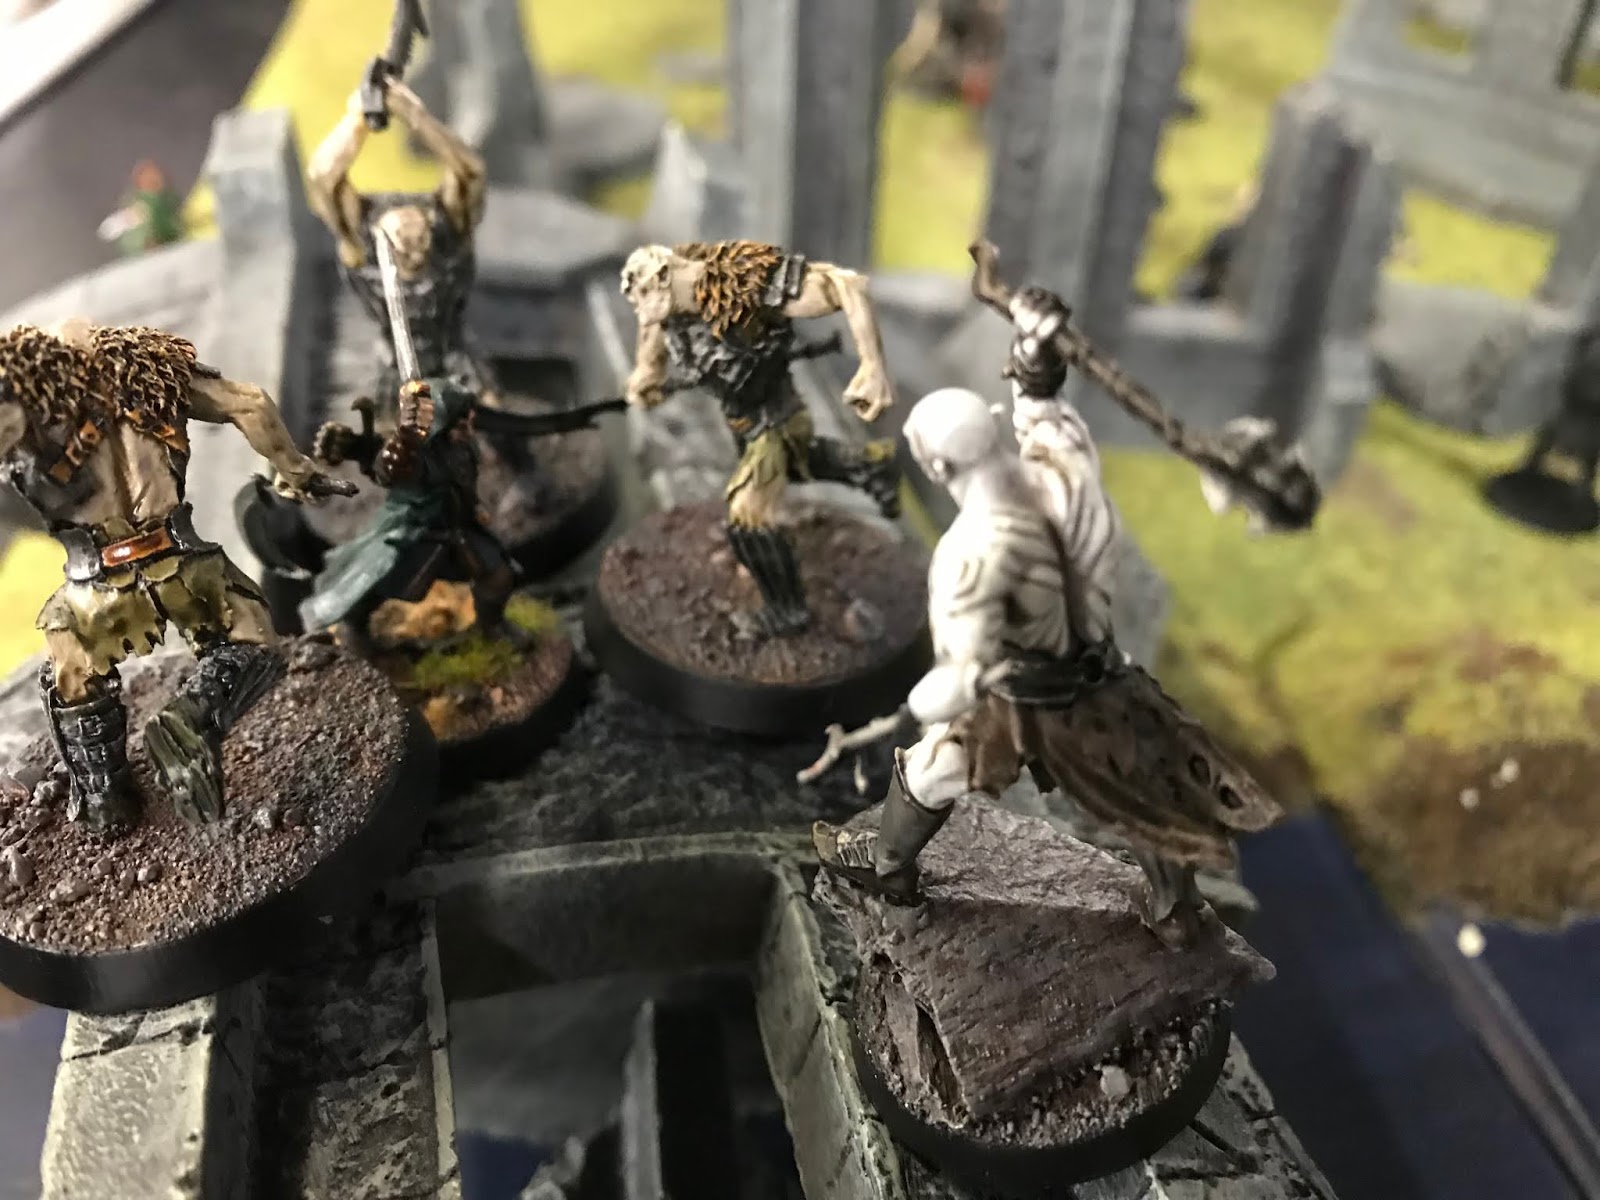
Whilst Bog went after Dwalin...
Thorin's hunt for Azog ended rather unexpectedly. Dying to a mob of berzerkers.


The final stages of the showdown were rather brutal, but I have no pictures unfortunatly. In short, Dwalin killed Bolg and Azog took out Kili/Fili only to have Turiel turn up and injure the big brute. She then got battered to death by Azog just as all the Eagles and bears turned up. It looked like Azog was going to carry the day as he began heading for the remaining Dwarf Noble; Kili?Fili who was still cornered in the ruins. That was until Legola showed up.

Azog was already wounded from his fight with Turiel but no-one would have bet on Legolas appearing last minute and snipping the Orc warleader in one shot. ONE SHOT! God damn *%£%^$"%%^£%^%*&*&&%^& Elves! Ruin my plans every time!

So with Azog and Bolg dead, the final battle went to the goodies and we closed the book on the Hobbit Trilogy. We're hoping to start playing some fellowship missions soon.

Sunday, 18 August 2019

Protocol 55 Campaign Pt4

Privateers Inbound
Inquisitor Lux had dispatched local guard squadrons to hunt down the Ork pirates and wayward Tyranids. His
attention had been diverted for too long already. The Mechanicus Excavators had eluded him for now, but Lux
still held their initial find: The Casket. It had taken his savants weeks to decipher the inscriptions covering the
strange obelisk, but Lux’s patience had paid off. The Casket was a map, a guide to another hidden vault containing
even greater stores of ancient technology. Inquisitor Lux would continue the treasure hunt.


Game1 Mission Critical
The Vault was maze! A marvel of architecture and technology that was both storage facility and combination lock.
At the heart of the complex sat the controls for the structure’s locking protocols. To open everything, multiple
terminals had to be accessed at the same time, at different locations. Lux and his team would need to split up in
order to open the complex’s lower levels.


Lux and his team secure the central controls, but others have broken into the vault. Either by luck or design,
another rogue enters the fray.


The Kroot mercenary senses his prey.

The Rogue Trader’s personal guard stalk the complex and secure one of the terminals. They await for further
orders, only to be ambushed from the shadows by a brutal psychic assault. The room is lit by by an evil fire as
The Scorched drifts into view.


At the central control station, Inquisitor Lux encounters resistance of his own. An chrono-gladiator, as big and
brutal as B4N3 bursts from the dark corridors and charges the acolyte. The loyal henchman quickly dives for
cover allowing B4N3 to fight his opposite number.


The Kroot edges around the generator seeking prey. The stench of engine oil conceals the scent of promethium.
Too late the alien mercenary realises his mistake.

The cyborg warriors clash but B4N3 seems sluggish, his adversary cuts him down as he freezes utterly. Sparks burst
in the air as the presence of another psyker becomes apparent to Lux. With B4N3 crippled, Inquisitor Lux is forced
to fend for himself against the rampaging Chrono-gladiator. His loyal acolyte stepping in to offer aid.


At one of the control nodes, the Rogue Troopers find themselves out matched by the Zealous fury of The Knight.

Meanwhile the The Scorched moves through the corridors with malicious intent.

Lux is injured by the chrono-gladiator and forced into a corner. The Cyborg beast is unable to finish the
Inquisitor permanently as the Acolytes hold the assailant at bay.


Amongst all the confusion, Lux receives a communication from one of his team. The crafty henchman has used the node at his position to alter the access codes. The central control panel is no longer the master control to the complex. Lux allows himself a pained smile as the control panel in front of his deactivates. The only glow in the room now emanates from The Scorched, casting the Rogue Trader and his surviving team in a red glare.


The Trader orders the retreat, his remaining operatives fall back through the demolished entrance they first made.


Game2 Surrounded.

Empty…. all that effort and bloodshed and the vault was empty. No wonder the Mechanicus Team had been so
quiet. They had gotten ahead of Lux, found their prize and left the Inquisitor with an empty locked box. A
reckoning was due. Suddenly Lux’s head was split with agony. His vision swam, before he finally blacked out
he saw the the Rogue Pysker from the vault step into view. A Reckoning was due, but not for Inquisitor Lux
just yet.


Enraged by the Unclean assault on his master, The Knight charged forth only for a Kroot Mercenary to bar his
path. The Pysker stepped passed the embattled Knight towards the downed Inquisitor.

His failing life signs triggered a warning to the Inquisitor’s allies within the district, but there arrival had been
anticipated. Heavily armed troops were waiting for whatever reinforcements came to Lux’s aid.

The attempt to recover their fallen master was a failing hope. The Knight dispatched both the Kroot and the
crazed chrono-gladiator that joined the frey, but looked on helplessly as more troops entered the courtyard to
support the psyker. 


The Knight heard a coded message on his comm-link: “Withdraw and find me.” it said. Their master would be
avenged.